DTF (Direct-to-Film) transfer is a garment printing method that uses specialised inks, transfer film, adhesive powder and heat to apply full-colour designs to fabric.
It works by printing artwork onto PET film, coating the printed design with adhesive powder, curing the adhesive and heat-pressing the transfer onto a garment. DTF transfers are commonly used to customise T-shirts, hoodies, sportswear, workwear and tote bags because they support detailed designs on cotton, polyester and many blended fabrics.
Their durability depends on print quality, correct application and washing conditions, while their cost varies according to design size, sheet dimensions and order quantity.
Businesses can produce transfers using DTF printing equipment or buy ready-to-press transfers from UK suppliers. For larger orders, wholesale DTF transfers and gang sheets can help reduce the cost per design by combining multiple prints onto a single sheet.
What Is a DTF Transfer?
A DTF transfer is a printed design prepared on a special PET film and applied to fabric using heat and pressure.
The design is produced using coloured and white inks, followed by a layer of heat-activated adhesive powder. Once the adhesive is cured, the transfer can be pressed onto a garment, where the adhesive bonds the printed design to the fabric.
What does DTF mean in printing?
DTF means Direct-to-Film, referring to the process of printing a design directly onto specialised transfer film before transferring it onto fabric with a heat press.
See the Types Of DTF Transfers.
How does DTF Transfer printing work?
DTF transfer printing works by printing a reversed design onto coated PET film using CMYK and white pigment inks, applying hot-melt adhesive powder to the wet print, curing the adhesive with heat and pressing the prepared transfer onto fabric.
After pressing, the carrier film is peeled away, leaving the printed design attached to the garment. Some transfer systems also require a second press to improve the finish and adhesion.
The process follows five main production steps, followed by peeling and any recommended finishing press.
Step 1: Artwork Preparation and RIP Software
The process begins with preparing the artwork at its intended print size. Designers can create the image using graphic design software, then process it through compatible RIP (Raster Image Processor) software. The RIP software manages colour separation, white ink placement and print settings, helping the printer reproduce the design correctly.
The image is normally mirrored during the printing workflow because it will be transferred face down onto the garment. Artwork should also have a transparent background where no ink is intended.
Step 2: Printing Onto PET Film, CMYK Then White
The DTF printer prints the design onto the coated surface of PET film. In a typical CMYK-plus-white workflow, cyan, magenta, yellow and black inks are printed first, followed by a white ink layer over the coloured image.
The white ink forms an opaque backing that helps the printed colours remain visible on dark garments. The printed film then moves to the adhesive application stage while the ink is still wet.
Step 3: Applying the Adhesive Powder
Hot-melt adhesive powder is distributed evenly across the wet printed design. The powder sticks to the ink, while excess powder is shaken away from the surrounding film.
This stage can be completed manually or with an automatic powder shaker. Even adhesive coverage is important because areas without sufficient powder may fail to bond properly when the transfer is heat-pressed.
Step 4: Curing in the Oven
The powdered film passes through a curing oven or a suitable heating system, where controlled heat melts the adhesive powder into a continuous layer over the printed design.
Curing temperature and time depend on the adhesive formulation and equipment. For example, Kodak's DTF application guide specifies an oven temperature of 100–120°C for approximately 2–3 minutes for its system. These settings are product-specific and should not be treated as universal instructions.
Step 5: Pressing the Transfer Onto Fabric
The prepared transfer is positioned on the garment with its printed side facing the fabric. The garment is usually pre-pressed to remove moisture and creases before the transfer is applied.
A heat press then provides the temperature, pressure and pressing time required to activate the adhesive and bond the design to the fabric. Once pressing is complete, the PET carrier film is removed according to the transfer's hot-peel, warm-peel or cold-peel instructions.
The second press
A second press is an important finishing stage for DTF systems that require it. After removing the carrier film, the operator covers the design with a suitable protective sheet and presses it again for the specified time. This can help improve ink fixation, adhesion and wash performance.
A second press is not compulsory for every DTF product. Kodak recommends post-pressing, while STAHLS offers a DTF transfer system designed for single-press application. The correct procedure therefore depends on the manufacturer's instructions.
What is a DTF gang sheet?
A DTF gang sheet is a single sheet or continuous length of transfer film containing multiple designs arranged together, allowing different logos, sizes or repeated prints to be produced in one printing run while making more efficient use of the available film.
What is the difference between DTF transfers vs UV transfers vs sublimation?
The main difference between DTF transfers, UV DTF transfers and sublimation is how the printed design attaches to a material and which surfaces each process can decorate.
Standard DTF transfers use heat-activated adhesive to bond printed designs to fabric, making them suitable for clothing made from cotton, polyester and blends.
UV DTF transfers use UV-cured inks and adhesive films to apply designs to hard surfaces without a heat press. Sublimation uses heat to turn special dyes into gas, allowing the colour to penetrate polyester fibres or compatible polymer coatings. The right method therefore depends on the material, its colour and the finish required.
Feature | DTF transfers | UV DTF transfers | Sublimation |
|---|---|---|---|
Printing method | Pigment ink and hot-melt adhesive | UV-cured ink and adhesive transfer film | Heat-activated sublimation dye |
Best surfaces | Cotton, polyester, blends and other suitable fabrics | Glass, plastic, metal and compatible hard surfaces | Polyester fabric and polymer-coated objects |
Application | Heat and pressure | Pressure without a heat press | Heat and pressure |
Dark fabrics | Yes, using white ink backing | Not normally intended for fabric | Generally unsuitable |
Print finish | Flexible printed layer on fabric | Raised, sticker-like design | Dye becomes part of the substrate |
Common uses | T-shirts, hoodies, workwear and bags | Tumblers, bottles, packaging and phone cases | Sportswear, coated mugs and promotional products |
What are the Components of DTF Transfer?
The main components of a DTF transfer are PET carrier film, printed CMYK and white inks, and a hot-melt adhesive layer. Each performs a different function during production and application. The PET film temporarily holds the printed design, the inks create its appearance, and the adhesive bonds the design to the fabric when heated.
PET Film Carrier
PET (polyethylene terephthalate) film is the temporary carrier used to print, transport and position a DTF design before transferring it onto clothing. Its coated surface allows the printed image to remain in place during the powdering and curing stages.
DTF films are available with different release properties, including hot-peel and cold-peel types. Once the transfer has been pressed and the film removed, the carrier itself does not remain on the garment.
CMYK + White Inks
DTF inks create the visible design using cyan, magenta, yellow, black and white. CMYK inks reproduce the coloured artwork, while white ink provides an opaque backing that supports colour visibility, particularly on dark fabric.
Using these inks allows DTF printing to reproduce multicolour logos, gradients, photographs and detailed artwork without separate colour-cutting operations.
Hot-Melt TPU Adhesive
Hot-melt adhesive is the material responsible for attaching the printed image to the garment. Many DTF systems use thermoplastic polyurethane (TPU) powder, although adhesive formulations can differ between manufacturers.
The powder adheres to the wet ink and melts during curing to form a heat-activated bonding layer. When the prepared transfer is pressed onto fabric, the adhesive helps secure the printed image to the textile surface.
HEXIS identifies its DTF powder specifically as thermoplastic polyurethane in its published technical data sheet.
What are the pros and cons of DTF Transfer?
The main advantages of DTF transfers are their ability to reproduce detailed, full-colour designs, work with various fabrics and support both small and bulk garment orders.
Their main disadvantages are the specialised equipment required for in-house production, the possibility of a noticeable printed layer on the garment and the need for accurate heat-pressing conditions.
Advantages: DTF transfers can reproduce photographic images, gradients, fine lettering and multiple colours without requiring separate cutting and weeding for each colour.
They are suitable for many light and dark garments, and ready-made transfers can be stored and pressed when orders arrive. This makes them useful for customised clothing, branded workwear, merchandise and short production runs.
Disadvantages: DTF printing requires film, specialist inks, adhesive powder, curing equipment and maintenance when transfers are produced in-house. Large solid designs can also feel more noticeable on fabric than sublimation prints.
Incorrect curing, inconsistent pressure or unsuitable fabrics may cause poor adhesion, peeling or colour problems. In addition, some dyed polyester garments can experience dye migration, requiring a compatible low-temperature or blocking transfer.
How to apply DTF transfers at home
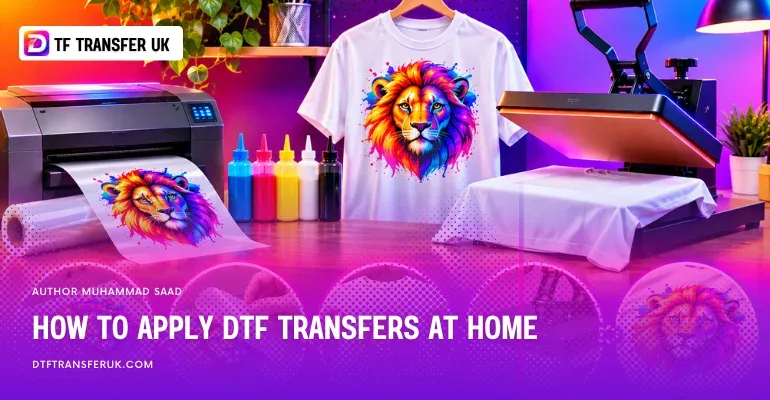
To apply DTF transfers at home, you need a ready-to-press transfer, a compatible garment, a heat press and a protective sheet. A suitable home heat press can be used, provided it delivers the temperature and pressure required by the transfer supplier.
A household iron may work with products specifically designed for iron application, but a heat press generally provides more consistent results.
Follow these steps to apply the transfer:
1. Prepare the garment. Place the clean, dry garment on the heat press and pre-press it briefly to remove moisture and creases. Keep seams, buttons and zips away from the pressing area so the design receives even pressure.
2. Set the heat press. Adjust the temperature, time and pressure according to the instructions provided with your DTF transfer. Cotton and polyester may require different settings, and a setting suitable for one transfer film may not work for another.
3. Position the transfer. Place the prepared DTF transfer onto the garment with the adhesive or printed side against the fabric and the carrier film facing upwards. Check that the artwork is correctly aligned before applying heat.
4. Press and peel the film. Close the press for the recommended time, then remove the carrier according to its release instructions. Hot-peel films are removed while hot or warm, whereas cold-peel films must cool before removal.
5. Complete the finishing press if required. Cover the printed design with a suitable protective sheet and press it again if the transfer manufacturer recommends this step. Allow the garment to cool before folding or handling it extensively.
What Equipment Do You Need for DTF transfers Printing?
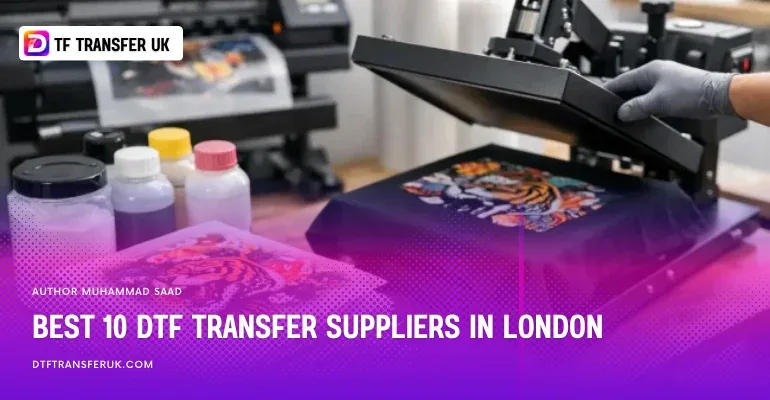
To print DTF transfers in-house, you need a compatible DTF printer, RIP software, coated PET film, DTF inks, adhesive powder, curing equipment and a heat press.
These components work together to prepare the design, print it onto film, bond the adhesive and transfer the finished image onto fabric. Businesses that purchase ready-made transfers only need suitable application equipment rather than the complete printing system.
DTF Printer
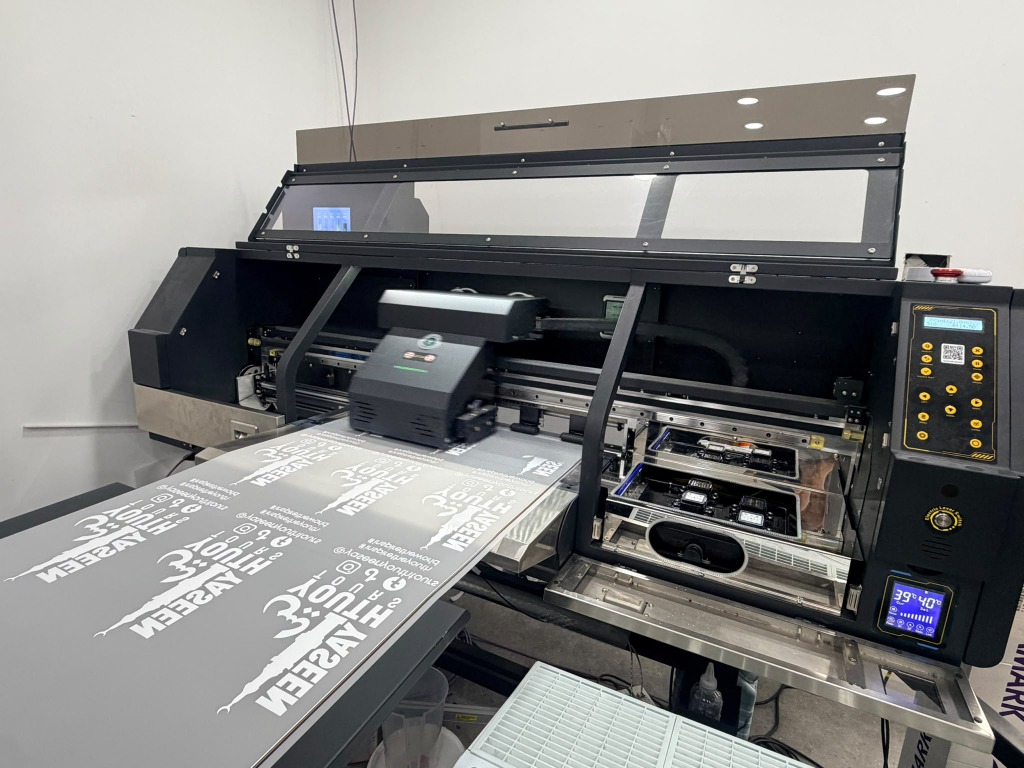
A DTF printer prints the artwork onto coated PET film using coloured and white inks. Dedicated DTF machines are available in desktop and commercial production configurations, including roll-fed systems for larger transfer quantities.
RIP Software
RIP software processes digital artwork into printable instructions for the DTF printer. It manages functions such as image mirroring, colour control, ink deposition and the white ink underbase.
Compatible software is important because correct white ink placement and colour processing directly affect how the transferred design appears on the finished garment.
PET Film
PET film provides the coated surface onto which DTF inks are printed. Film must be compatible with the printer and the intended release method.
Businesses can select different film formats according to production requirements, including individual sheets for smaller jobs and continuous rolls for gang sheets or wholesale printing.
DTF Inks
DTF inks are specially formulated for transfer film printing. Standard full-colour systems use CMYK and white pigment inks, with the white layer supporting colour opacity on darker garments.
Compatible inks are important for reliable printing, adhesive bonding and consistent colour reproduction. Using inks not specified for a particular printer or DTF system may affect performance.
Adhesive Powder, Curing Equipment and Heat Press
A powder shaker or suitable manual application setup distributes adhesive across the wet ink. A curing oven or compatible dryer melts the powder before application, while the heat press bonds the transfer to the garment.
Commercial operations may use integrated powder-shaking and curing machines to process transfers more consistently.
Suitable ventilation and protective equipment are also important when handling powder and operating curing equipment; Epson recommends protective eyewear and a mask for powder handling.
How long do DTF transfers last after washing?
DTF transfers can remain in good condition for 50 or more wash cycles when correctly manufactured, heat-pressed and cared for, although their actual lifespan varies by transfer system and washing conditions. Some manufacturers report higher durability, but there is no single wash-count guarantee that applies to all DTF products.
For example, STAHLS UK states that its custom heat transfers offer wash durability of more than 75 washes, while a published November 2025 shop test by DTF Transfers Wholesale reported reaching 50 washes without cracking, peeling or fading under its test conditions.
These are product-specific results rather than a universal standard for every DTF transfer.
Does DTF transfers last longer than vinyl?
DTF transfers can last as long as some heat transfer vinyl (HTV) products, but they do not automatically last longer than vinyl. Durability depends on the transfer material, adhesive, fabric, application settings and washing conditions.
How should I wash and care for garments with DTF transfers?
Garments with DTF transfers should be washed inside out, preferably at 30°C or lower, using a mild detergent and a gentle washing cycle. This reduces rubbing against the printed design and helps preserve its appearance.
Most suppliers recommend waiting at least 24 hours after application before the first wash.
Always follow the stricter of the garment care label and the transfer manufacturer's instructions.
Can you DTF Transfer print on any fabric?
Yes, DTF transfers printed onto many fabrics, including cotton, polyester, cotton-polyester blends, denim and certain nylon or stretch textiles, but they cannot be applied reliably to every fabric.
The material must tolerate the required heat and pressure, and its surface must allow the adhesive to bond properly. Waterproof coatings, fabric finishes, heavy textures and heat-sensitive fibres can affect adhesion or cause damage during pressing.
What are the Best fabrics for DTF transfers?
The best fabrics for DTF transfers are generally cotton, polyester and cotton-polyester blends because these materials are widely used for garment decoration and are supported by many DTF transfer systems.
Do DTF transfers work on hard surfaces like mugs, wood, or phone cases?
Standard DTF transfers are not generally suitable for hard surfaces such as mugs, wood or phone cases because their heat-activated adhesive systems are designed primarily for textile applications.
How much do DTF transfers cost?
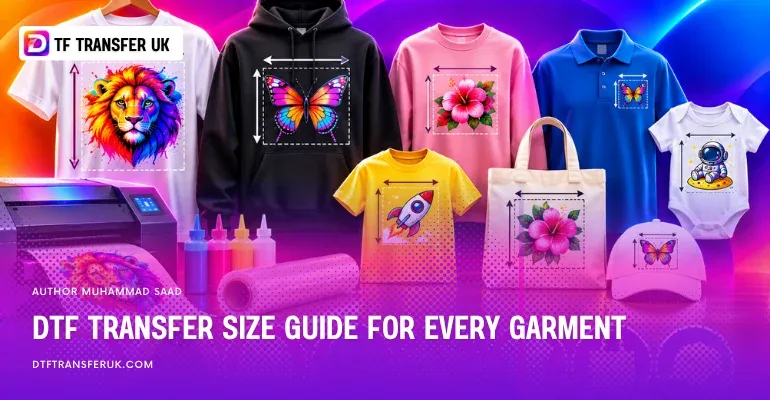
DTF transfers cost different amounts depending on the printed area, sheet size, quantity, transfer type and supplier. UK businesses can purchase individual A-size gang sheets or longer sheets priced by the linear metre, with wholesale discounts often reducing the price as order quantities increase.
Published UK supplier prices illustrate the difference:
UK supplier | Transfer size or quantity | Advertised price |
|---|---|---|
DTF Transfer Uk | 1000mm × 560mm | £10.45 per metre, excluding VAT |
Tiger Prints | A3 gang sheet, 31 or more sheets | £5.00 per sheet, excluding VAT |
DTF Supplies | 570 mm × 1 metre | £10.00 per metre, excluding VAT |
Direct DTF | 580 mm × 1 metre | £9.50 per metre, before any applicable trade discount |
What file format should I send for DTF printing?
You should generally send a transparent PNG file at 300 DPI at the final intended print size for DTF printing.
Where to buy DTF transfers and what to look for?
You can buy DTF transfers from Us-DTF TransferUK. We provide bulk DTF Transfers gang sheets by metre.